| Inkscape » Extensions » JessyInk (Presentations) |    |
|---|
| Inkscape » Extensions » JessyInk (Presentations) | |
|---|
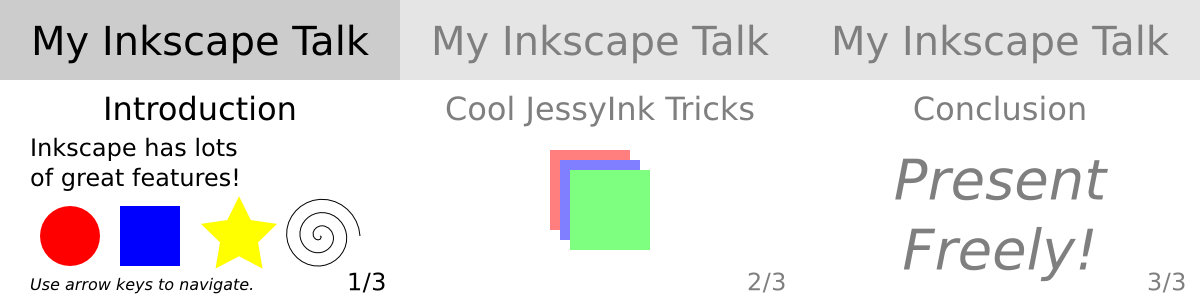
The JessyInk package of extensions allows one to use Inkscape to produce a sophisticated web-based presentation, complete with master slides, automatic page numbering, transitions between slides and within slides, and page zooming. JessyInk works by embedding JavaScript into your SVG file. The JavaScript then manipulates Inkscape Layers to run the presentation. Perhaps the best way to see what JessyInk can do is to run the demonstration that can be found in the Featured downloads section on the JessyInk Home Page.
To use JessyInk you first need to add the JessyInk JavaScript code to your SVG file. This is done by calling up the Install/Update... dialog and clicking on the Apply button. The code can be removed by using the Uninstall/remove dialog.
Once the code is installed, each Layer becomes a slide in the presentation. The order of the Layers in the drawing corresponds to the order of the slides in the presentation. One slide can be designated as the Master slide which will be displayed as background to all the other slides.
![[Tip]](../images/admons/tip.png) | Tip |
|---|---|
|
Keep the Layer dialog open while working. Slides can be easily added or moved around in order with the dialog. It helps to give the slides meaningful names. Keep a web browser open while working. Not only can you easily check your work but you can get an overview of your presentation by using the Index mode (toggled on/off by Ctrl+i). |
To create a master slide, first create a layer with all the
objects you wish to appear on all slides. Give the slide
a name using the Layer dialog (“Master Slide”
is a good choice). Then call up the Master Slide
dialog via the Master Slide... menu entry.
Enter the slide name and click the Apply
button. It is a good idea to lock the slide by clicking on the
![]() icon in the Layers dialog next to the
slide name.
icon in the Layers dialog next to the
slide name.
You can add a few special Auto-texts to the Master Slide. The most useful is the Slide number which will automatically display the correct slide number on each slide. You can also display the total number of slides (excluding the Master Slide and the title (Layer) name of each slide.
To add Auto-text, put dummy text on the Master Slide where you want the Auto-text to be located. The Auto-text will be displayed with the style of the dummy text. Select the dummy text and then on the Auto-texts dialog select the desired type and hit the Apply button. You will not see any change to the text in Inkscape but when viewing the presentation in a Web browser, the correct Auto-text will be displayed.
Transitions between slides can be added with the Transitions dialog. Each slide can have a transition before (in) and after (out) its display. A default transition type can be assigned to the Master Slide which will then be used by all slides that don't have an explicit transition assigned to them.
There are three types of transitions: appear, where the slide appears instantly; fade, where the slide fades in or out; and pop where the slide fades in or out and grows or shrinks. The transition time for fade and pop can be set in the dialog.
To set a transition effect, call up the Transition dialog and the enter the Layer name that you which the transition to apply to. Select the transition type and click the Apply button. No visible change will be seen in Inkscape.
Effects are similar to transitions, except they apply to things on the same slide. For example, you can have a series of bullet points that appear one at a time. The same types of effects as for transitions are available: appear, fade, and pop. The order in which different effects are applied during a presentation is determined by the Order parameter. Effects with the same order number will appear at the same time.
To add an effect, select an object or a Group and then call up the Effects dialog. Select the type of effect and specify an order. Finally, click on the Apply button. Again, no visible change will be seen in Inkscape.
| Tip |
|---|---|
|
Think carefully about using effects. Overuse may prove distracting and annoying to your audience. Just because you can do it doesn't mean you should. |
Views are away to zoom in and out to part of a slide. Rotation is also possible. Views can be mixed with effects. The order is determined by the Order parameter.
To set a view, add a Rectangle to a slide. Removing the Fill and adding a light color Stroke allows viewing the rest of the slide easily. With the Rectangle selected, call up the View dialog, set the Order parameter and click Apply.
There are a few other dialogs available:
Keys bindings: Allows changing the key bindings used during a presentation.
Mouse handler: Allows changing the way the mouse interacts during a presentation.
Summary: Creates a summary of the JessyInk script embedded in the SVG file.
Video: Allows the embedding of video into a presentation by adding an HTML5 video tag. Check whether your browser supports the HTML5 video tag (Firefox 3.6 and later should work).
Once the presentation is finished, it can be opened in any browser that supports SVG. The first slide will automatically be displayed. By default use the Right Arrow or Page Down keys to advance through the presentation. The Left Arrow and Page Up keys can be used to go in reverse. The Down and Up keys can be used to navigate without running effects.
There are a few special features available during presentations:
Index Sheet: An Index Sheet that shows miniatures of nine slides, with the active slide highlighted, can be called up with the i key. Use the arrow keys to navigate through the slides. Pressing the i again will return to the presentation at the entrance of the highlighted slide. This allows quick navigation through a presentation.
Drawing Mode: A Drawing Mode can be toggled on/off with the d key. In this mode, the cursor becomes a pen. The width and color of the stroke can be controlled with number and alpha keys respectively. (See the Key binding dialog for a complete list of keys.) The z key can be used to undo a segment.
White Board Slides: Pressing the n key while in presentation mode will insert a blank slide. This slide can be used as a whiteboard with the drawing mode.
| |  | |
| Images |  | Modify Path |
© 2005-2017 Tavmjong Bah. |  |
![[Warning]](../images/admons/warning.png)